树莓派实现物联网第一步:控制LED

硬件部分

准备材料:

  • 树莓派
  • 面包板(可选)
  • 杜邦线(可选)
  • LED
  • 继电器

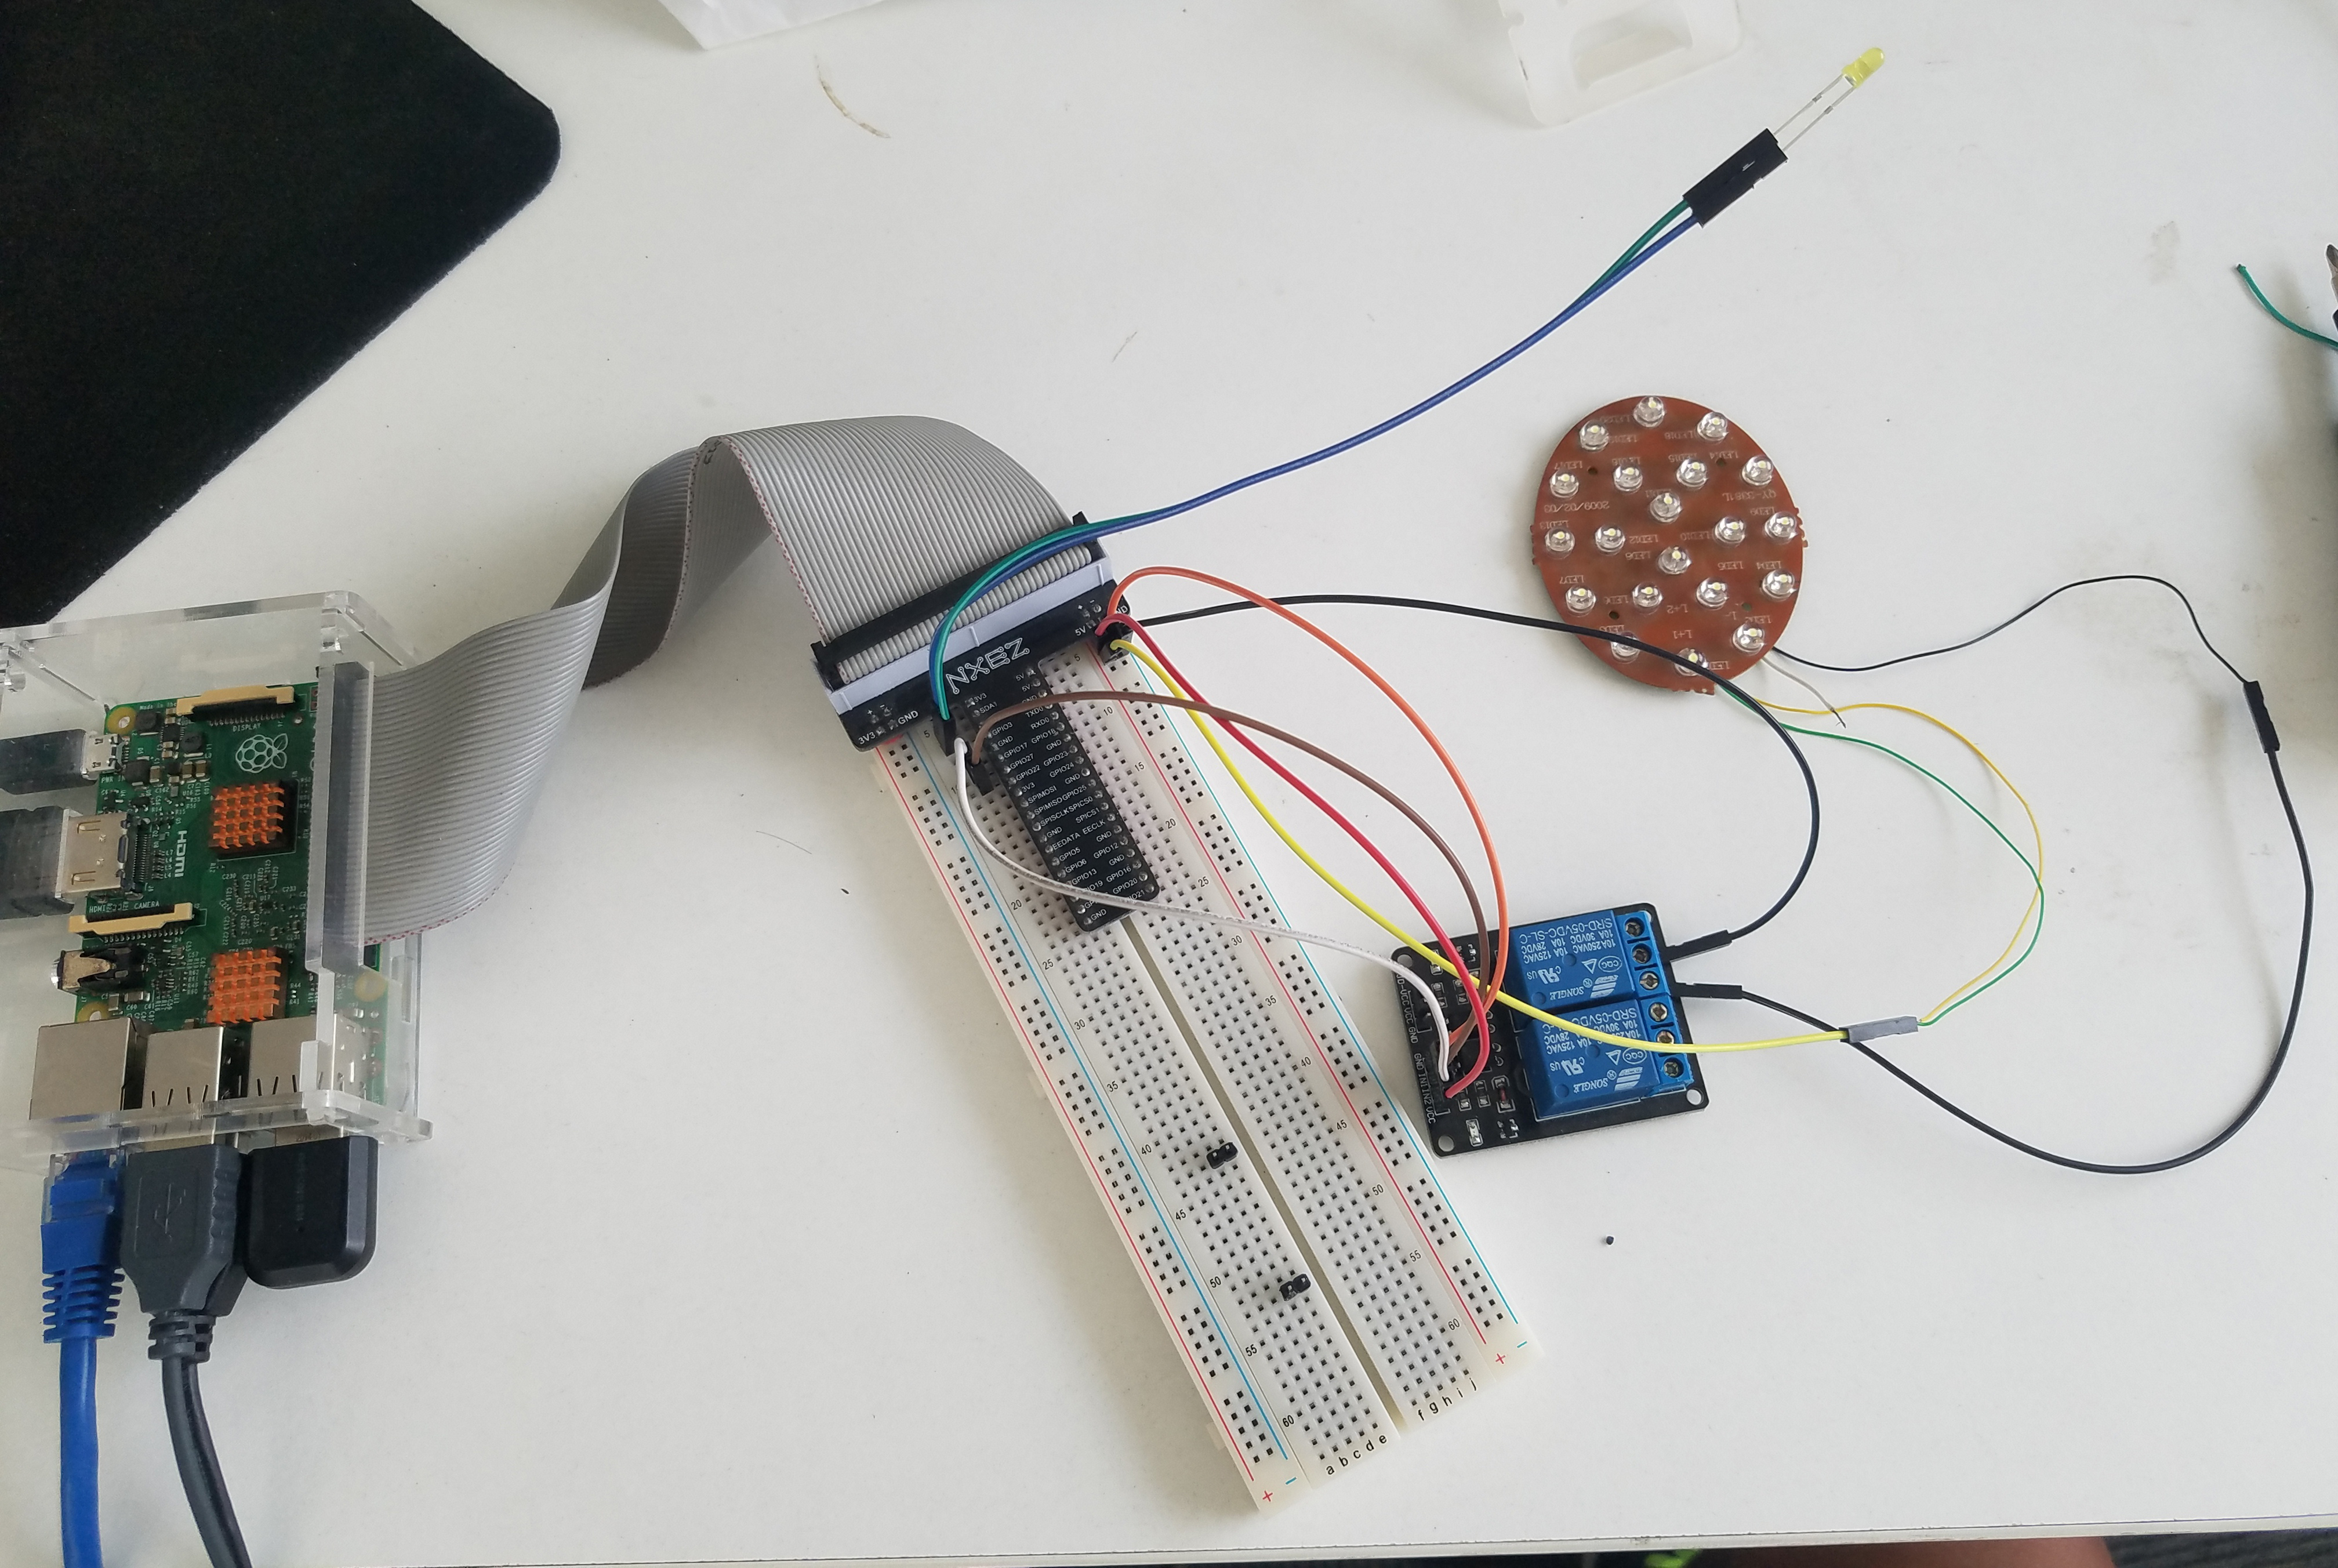
LED、继电器等连接到面包板上,继电器连接到树莓派的GPIO11和GPIO13,LED连接到继电器,具体链接方法不再详述;
硬件连接

软件部分

  1. 安装FLask(Flask安装教程)
  2. 创建led.py,相同目录下创建templates文件夹,里面放一个led.html,代码分别如下:
    1
    2
    3
    4
    5
    6
    7
    8
    9
    10
    11
    12
    13
    14
    15
    16
    17
    18
    19
    20
    21
    22
    23
    24
    25
    26
    27
    28
    29
    30
    31
    32
    33
    34
    35
    36
    37
    38
    39
    40
    41
    42
    43
    44
    45
    46
    47
    48
    49
    50
    51
    52
    53
    54
    55
    56
    57
    58
    59
    60
    61
    62
    63
    64
    65
    66
    67
    from flask import Flask, render_template , request
    import RPi.GPIO as GPIO
    import time

    GPIO.setmode(GPIO.BOARD)
    GPIO.setup(11, GPIO.OUT)
    GPIO.setup(13, GPIO.OUT)
    GPIO.setup(3, GPIO.OUT)
    GPIO.setup(5, GPIO.OUT)

    GPIO.output(11, GPIO.HIGH)
    GPIO.output(13, GPIO.HIGH)
    GPIO.output(3, GPIO.LOW)

    time.sleep(1)

    GPIO.output(3, GPIO.HIGH)
    GPIO.output(5, GPIO.LOW)

    time.sleep(1)

    GPIO.output(5, GPIO.HIGH)
    time.sleep(0.1)
    GPIO.output(5, GPIO.LOW)
    GPIO.output(3, GPIO.LOW)
    GPIO.output(13, GPIO.LOW)
    GPIO.output(11, GPIO.LOW)
    time.sleep(1)
    GPIO.output(5, GPIO.HIGH)
    GPIO.output(3, GPIO.HIGH)
    GPIO.output(13, GPIO.HIGH)
    GPIO.output(11, GPIO.HIGH)

    app = Flask(__name__)
    a = 'checked'
    @app.route('/',methods=['GET','POST'])
    def index():
    if request.method =='POST':
    GPIO.output(5, GPIO.LOW)
    time.sleep(0.001)
    GPIO.output(5, GPIO.HIGH)
    a = request.form["on2"]
    b = request.form["radio"]
    if b == 'one':
    if a == 'on':
    GPIO.output(11, GPIO.LOW)
    return render_template('led.html',i = 'ON',a = 'checked')
    else:
    GPIO.output(11, GPIO.HIGH)
    return render_template('led.html',i = 'OFF',a = 'checked')
    if b == 'two':
    if a == 'on':
    GPIO.output(13, GPIO.LOW)
    return render_template('led.html',j = 'ON',b = 'checked')
    else:
    GPIO.output(13, GPIO.HIGH)
    return render_template('led.html',j = 'OFF',b = 'checked')
    else:
    return render_template('led.html',w = 'please choose the botton!')
    else:
    GPIO.output(3, GPIO.LOW)
    time.sleep(0.1)
    GPIO.output(3, GPIO.HIGH)
    return render_template('led.html')

    if __name__ == "__main__":
    app.run(host='0.0.0.0', port=8888, debug=True)
1
2
3
4
5
6
7
8
9
10
11
12
13
14
15
16
17
18
19
20
21
22
23
24
25
26
27
28
29
30
31
32
33
34
35
36
37
38
39
40
41
42
43
44
45
46
<!DOCTYPE html PUBLIC "-//W3C//DTD XHTML 1.0 Transitional//EN" "http://www.w3.org/TR/xhtml1/DTD/xhtml1-transitional.dtd">
<html xmlns="http://www.w3.org/1999/xhtml">
<head>
<meta http-equiv="Content-Type" content="text/html; charset=utf-8" />
<title>led开关</title>
<link rel="shortcut icon" href="favicon.ico">
</head>
<style>
.aa{
fontcolor:FOO;
}
</style>

<body>
<center>
<h1>led控制</h1>
<h3>{{w}}</h3>
<form id="form1" name="form1" method="post" action="">

<p>
<input name="radio" type="radio" id="radio" value="one" {{a}}="{{a}}" />
<label for="radio"></label>
开关1&nbsp;&nbsp;&nbsp;
<input type="radio" name="radio" id="radio" value="two" {{b}}="{{b}}" />
<label for="radio2"></label>
开关2
</p>
<p>状态:{{i}} &nbsp;&nbsp;&nbsp; 状态:{{j}}</p>
<p>
<input style="width:300px; height:75px; background-color: #0F0; font-size:24px; font-family:Verdana, Geneva, sans-serif; font-weight:bold; color:#FFF" type="submit" name="on2" id="on2" value="on" />
</p>
<p>&nbsp;</p>
<p>
<input style="width:300px; height:75px; background-color:#F00;font-size:24px; font-family:Verdana, Geneva, sans-serif; font-weight:bold; color:#FFF" type="submit" name="on2" id="on2" value="off" />
</p>
<p>&nbsp;</p>
<p>&nbsp;</p>
<p>&nbsp;</p>

<p>&nbsp;</p>
<p>&nbsp;</p>
<p>
</form>
</center>
</body>
</html>

在同一局域网中的其他手机或电脑中输入树莓派的IP地址:8888,即可看到效果:
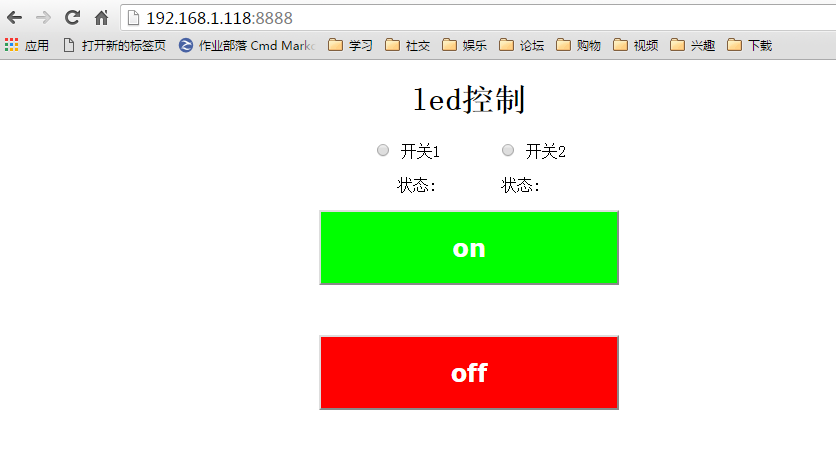
网页效果图

最后,选择开关1或者开关2,然后点击on或者off,即可看到LED灯会点亮或熄灭。
如果觉着我的文章不错,打赏我一包辣条吧 O(∩_∩)O
-------------本文结束 感谢您的阅读-------------